
Masonry Work Quality Checklist Before Painting & Interiors
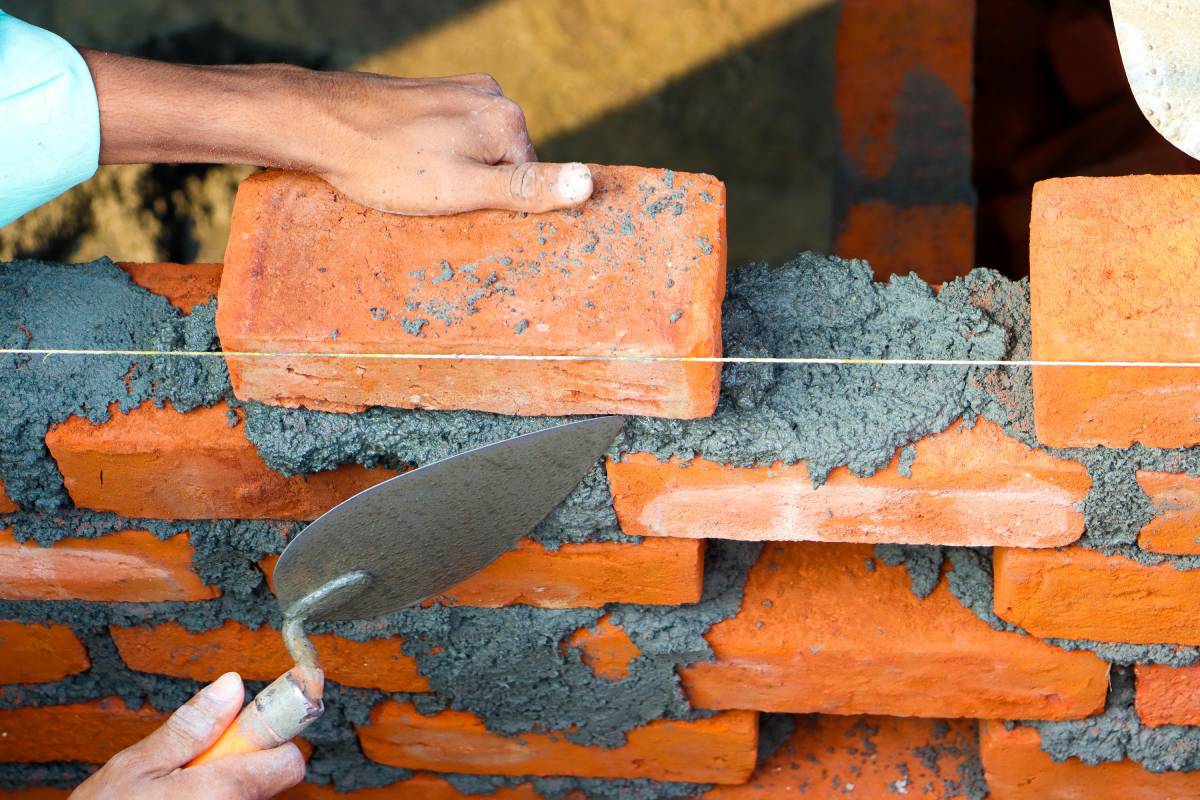
Most interior failures start before paint or furniture ever touches the wall.
- Cracks.
- Damp patches.
- Paint peeling.
- POP joints are opening.
- Wardrobes pulling away from the walls.
These are not interior problems. They are masonry work problems. A proper masonry work quality checklist before painting and interiors decides whether finishes last for years or fail within months.
This blog explains:
- What quality masonry work actually means
- What to inspect before plastering, painting, and interiors
- How poor masonry destroys finishes
- How homeowners can verify work without technical knowledge
If you skip this checklist, interiors will hide defects temporarily. They will not fix them.
Why Masonry Quality Directly Controls Interior Durability
Masonry is the backbone of interiors.
Walls carry:
- Plaster
- Paint
- POP
- Cabinets
- Panels
- Fixtures
If masonry is weak, uneven, or poorly bonded, everything fixed on top of it suffers. That's why civil quality for interiors starts with masonry, not paint or design.
Many homeowners only search for masonry contractors near me after interior damage appears. By then, repairs cost more.
What Masonry Work Really Includes (Beyond Bricks)
Masonry work is not just stacking bricks or blocks.
Quality masonry includes:
- Proper alignment and plumb
- Correct joint thickness and bonding
- Strong connection with RCC columns and beams
- Clean integration of electrical and plumbing services
- Surface preparation for plaster
Skipping any step weakens the wall permanently. That's why this masonry work quality checklist must be followed before any interior finish begins. Experienced masonry contractors near me follow systematic checks, not shortcuts, before approving masonry readiness.
Section 1: Pre-Plaster Masonry Inspection (Most Critical Stage)
This inspection happens before plastering. Once plaster is applied, masonry defects are hidden and harder to fix.
1. Wall Alignment and Plumb Check
Walls must be:
- Straight vertically
- Consistent in thickness
- Free from visible waviness
If walls are not plumb:
- Plaster thickness varies
- Furniture alignment suffers
- Cracks appear later at stress points
Even small deviations cause interior fitting problems.
2. Corners and Angles Must Be True
Corners should be:
- Sharp
- Straight
- Square (90 degrees)
Poor corner alignment causes:
- Uneven POP edges
- Gaps behind wardrobes
- Crooked door frames
Corners define visual quality. If corners are wrong, interiors never look clean.
3. Masonry Joint Thickness and Uniformity
Mortar joints must be:
- Uniform
- Filled
- Not overly thick
Irregular joints:
- Weaken the wall
- Create stress points
- Lead to plaster cracks
Uniform joints distribute load evenly and support long-term stability. Reliable masonry contractors near me ensure joint consistency to prevent stress cracks and plaster failure.
4. Raking of Masonry Joints (Often Skipped)
Before plastering:
- Mortar joints must be raked (scraped)
- Depth should be enough for plaster bonding
If joints are not raked:
- Plaster does not grip properly
- Hollow patches form
- Paint peels early
This is one of the most skipped steps by rushed construction contractors near me.
5. Masonry to RCC Junction Treatment
Where masonry meets:
- Columns
- Beams
- Slabs
There must be:
- Proper bonding
- Reinforcement mesh at joints
Without this:
- Vertical cracks appear
- POP joints open
- Paint cracks reappear repeatedly
This junction is the most common crack location in homes. Skilled construction contractors near me reinforce junctions to control movement and long-term cracking.
6. Door and Window Opening Accuracy
Openings must be:
- Correct in size
- Square
- Aligned with drawings
Poor masonry around openings causes:
- Door fitting issues
- Window gaps
- Air and water leakage
Fixing this after interiors is expensive and messy. Accurate openings are a core requirement of Civil quality for interiors, not a cosmetic preference.
7. Embedded Electrical and Plumbing Coordination
Before plastering:
- Conduits must be fixed
- Pipes aligned
- Sleeves properly sealed
If services are adjusted later:
- Walls are broken again
- Plaster weakens
- Finishes crack later
This coordination is part of civil quality for interiors, not electrical work alone.
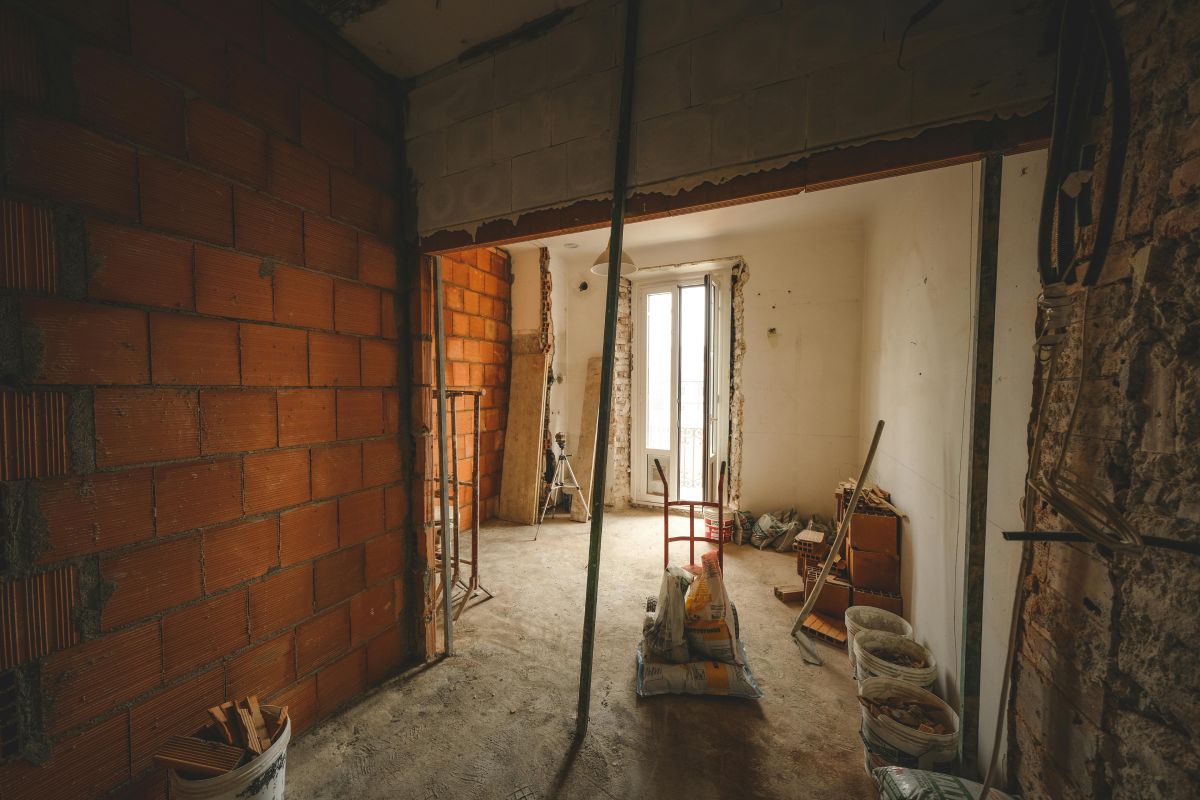
Section 2: Plastering Quality Checks Before Paint & POP
Plaster is the direct base for interiors. If plaster fails, finishes fail.
1. Surface Cleaning Before Plaster
Walls must be free from:
- Dust
- Loose mortar
- Oil
- Construction debris
Dirty surfaces cause:
- Weak bonding
- Hollow plaster
- Surface powdering
Clean walls = strong plaster.
2. Concrete Surface Preparation
Concrete surfaces must be:
- Roughened
- Cleaned
- Properly bonded
Smooth concrete without preparation leads to plaster detachment. This failure appears months later as hollow sounds and peeling paint.
3. Consistent Plaster Thickness
Plaster thickness should be:
- Uniform
- Not overly thick to hide defects
Excess thickness:
- Cracks under its own weight
- Shrinks unevenly
- Weakens over time
Good masonry reduces the need for thick plaster.
4. Flatness and Edge Sharpness
Plastered walls must be:
- Flat when checked with a straight edge
- Sharp at corners
Uneven plaster:
- Makes furniture fitting difficult
- Causes shadow lines in lighting
- Reduces visual quality
Flat walls make interiors look premium, even with simple designs.
5. Hollow Sound Test (Simple but Powerful)
After plaster dries:
- Tap gently on the wall
- Listen for a hollow sound
Hollow areas mean:
- Poor bonding
- Weak plaster
- Future paint failure
These areas must be removed and redone before painting.
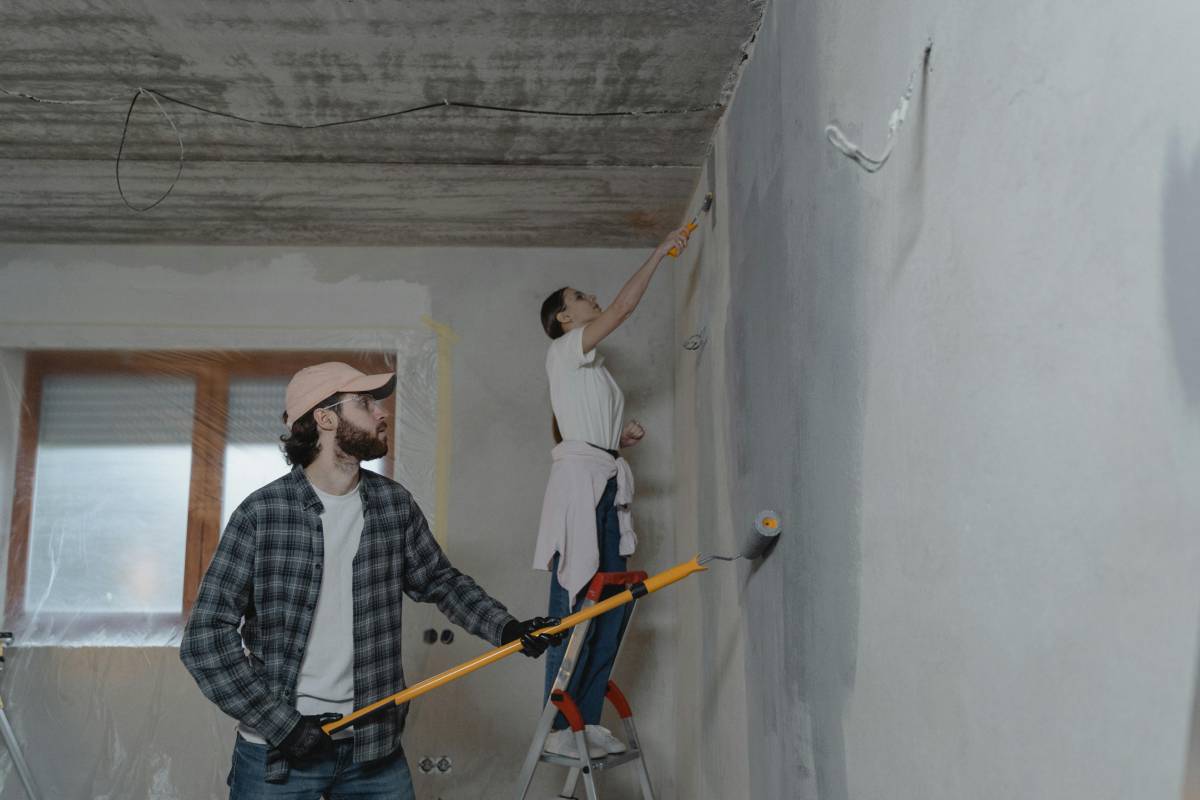
Section 3: Curing and Drying – The Step That Saves Paint
Curing is not optional.
Why Curing Matters
Curing:
- Controls shrinkage
- Builds strength
- Prevents cracks
Without curing:
- Plaster cracks appear later
- Paint peels
- Damp patches show up
Many failures blamed on paint quality are actually curing failures.
Drying Before Painting
Before painting:
- Walls must be fully dry
- Moisture must escape naturally
Painting damp walls traps moisture, causing long-term damage. This is why rushing interiors destroys finishes.
Efflorescence (White Salt Marks)
White powder on the walls means:
- Moisture movement
- Salt migration
Painting over it hides the problem temporarily. Salt returns and damages paint again unless the masonry and moisture are corrected.
Section 4: Waterproofing & Masonry Sealing
Water destroys interiors silently.
Damp Checks in Masonry
Check areas near:
- Bathrooms
- Kitchens
- External walls
- Balconies
If damp exists:
- Fix it before painting
- Seal masonry properly
Interior finishes cannot block water pressure.
Plumbing Openings and Grouting
Pipe penetrations must be:
- Properly sealed
- Fully grouted
Open gaps become leakage paths. Later, water damages plaster, paint, and furniture.
Wet Area Masonry Protection
Sunken slabs and wet areas must be:
- Properly waterproofed
- Tested before finishing
Skipping this step guarantees future damage.
Section 5: Final Masonry Preparation Before Painting & Interiors
This is the final quality gate.
Complete Surface Cleaning
Remove:
- Dust
- Loose particles
- Construction residue
Dust under the paint causes poor adhesion.
Crack Filling and Void Treatment
All cracks must be:
- Assessed
- Filled with correct filler
- Not just covered with paint
Ignoring cracks makes them reappear.
Primer Readiness
Primer must be applied only when:
- Walls are dry
- Surface is stable
- Masonry defects are fixed
Primer is not a repair tool. It is afinalh preparation step. Professional construction contractors near me treat final preparation as inspection, not a rushed formality.
Key Masonry Quality Benchmarks (Easy to Remember)
- Walls are straight and vertical
- Joints uniform and raked
- No hollow sounds
- No damp patches
- Proper curing completed
If these are met, interiors last longer.
Why This Masonry Work Quality Checklist Matters for Long-Term Value
Skipping this masonry work quality checklist leads to:
- Repainting every year
- Tile replacement
- Furniture realignment
- Ongoing repair costs
Good masonry creates durable construction, not just good looks. Experienced construction contractors near me focus on durability, reducing repairs over the building’s lifespan.
Choosing the Right Masonry Contractor
When searching masonry contractors near me, ask:
- How do you check alignment?
- Do you rake joints?
- How do you handle RCC junctions?
- How long do you allow curing?
Process matters more than promises.
Final Takeaway
Painting and interiors cannot fix bad masonry. They only hide it temporarily.
Following a proper masonry work quality checklist before interiors:
- Protects finishes
- Reduces future repairs
- Saves money
- Improves durability
Strong walls create strong interiors.
Frequently Asked Questions (FAQs)
What is a masonry work quality checklist?
It is a set of checks to ensure walls are aligned, bonded, cured, dry, and ready before painting and interior finishes begin.
Why do cracks appear after painting?
Cracks appear due to poor masonry, weak plaster bonding, skipped curing, or movement at RCC joints.
Can painting fix masonry defects?
No. Paint only covers defects temporarily. Masonry issues must be fixed before painting.
How do I know if plaster is weak?
Hollow sounds, powdery surfaces, or visible cracks indicate weak plaster.
Is curing really necessary before painting?
Yes. Without curing, plaster shrinks and cracks, causing paint failure later.
Who should inspect masonry before interiors?
A civil professional or experienced construction contractor near me should inspect masonry before interiors begin.
You May be Interested in
-
 March 14,2025
Top 10 Office Interior Design Trends 2025 for Small Offices
The evolution of office spaces continues to accelerate in 2025, shaped by remote work, wellness awareness, and smart tech....
Read More... -
 April 18,2025
10 Home Renovation Mistakes to Avoid: A Beginner's Guide
Renovating your home can be one of the most exciting yet overwhelming experiences. Whether it’s upgrading your kitchen....
Read More... -
 March 28,2025
Commercial Office Renovation Guide: Planning & Checklist
Renovating your office is more than just a cosmetic upgrade—it's a strategic move that can boost productivity....
Read More...
FREE CONSULTATION
Talk To Our Expert

About Us
Founded in 2016. Eagle Ventures has estabilished itself as one of the greatest and prestigious providers of construction focused interior renovation services and building.