
Real 2BHK Flat Interior Designing Case Study in Thane | Budget vs Final Cost
Introduction: Why Most 2BHK Interior Budgets Go Wrong
When homeowners start planning a 2BHK flat interior designing, the first question is always about cost.
- "How much will it cost?"
- "Can we do it within ₹5–6 lakh?"
- "Is a turnkey better or separate contractors?"
At this stage, everything feels controllable. Budgets are set. Designs are shortlisted. Expectations are clear. But once the actual work starts, the situation begins to change. Costs increase. Decisions change. Hidden issues appear. Timelines shift.
And by the end of the project, most homeowners realize something important:
- the actual cost is not just about design.
- It is about how the project behaves on site.
This case study is based on a real 2BHK flat interior designing in Thane, where we will walk through:
- Initial budget planning
- Actual site condition
- Execution challenges
- Where the cost increased and why
- Final project outcome
This is not a theoretical guide. This is how a real project unfolds.
Project Overview: The Starting Point Before Any Work Began
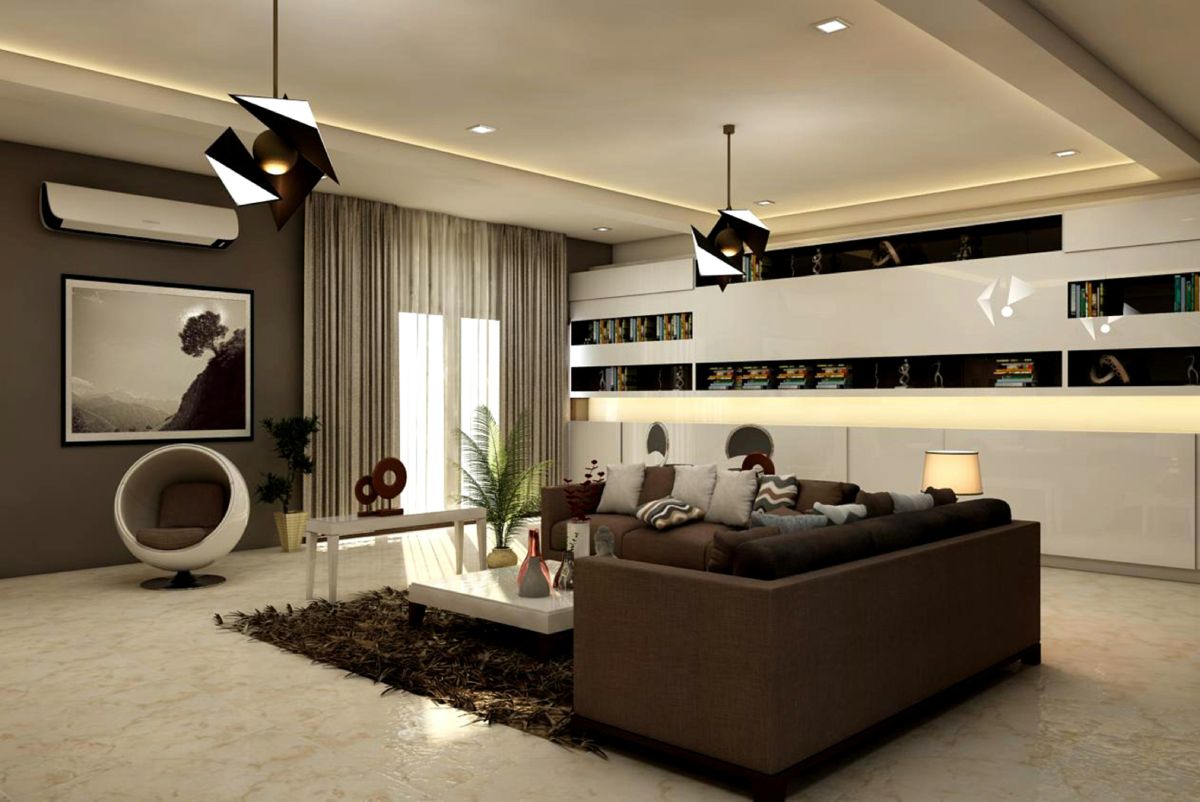
The project was a 2BHK apartment located near Ghodbunder Road, Thane. The flat was handed over by the builder in standard condition. At first glance, everything looked ready for interiors. Walls were painted. Flooring was completed. Electrical points were present. From a homeowner’s perspective, it felt like interior work could start immediately. The client had a clear expectation.
- modular kitchen
- wardrobes in both bedrooms
- TV unit
- false ceiling
- basic lighting upgrade
The initial discussion was straightforward. The expected 2BHK flat interior cost was around ₹5.5–6 lakh. This is a very common budget range in Thane for basic to mid-level interiors. At this stage, everything looked aligned. But before finalizing the design, we conducted a site inspection. And that is where the actual story began.
Stage 1: What We Found During Site Inspection (Hidden Reality)
When we first visited the flat, the homeowner had a very common assumption. The flat looked ready. Walls were painted, the flooring was already done by the builder, and electrical points were in place. From a visual perspective, nothing looked wrong.
This is exactly where most renovation mistakes begin. Because what looks fine at the surface level is rarely accurate at the execution level. The moment we started detailed inspection, not visual inspection, but measurement-based inspection, the actual condition started revealing itself.
The first issue we identified was wall alignment in the master bedroom. Now this is something homeowners almost never notice. The wall where the wardrobe was planned looked perfectly straight when seen normally. But when we marked layout lines and checked with level tools, there was a slight inward tilt across the height of the wall.
It was not dramatic. But it was enough to affect furniture installation. Now, here is what happens in real execution.
When a wardrobe is designed, it assumes straight walls. The panels are cut at precise angles. The alignment depends on the wall being true. If the wall is tilted even slightly, the wardrobe cannot sit flush. The carpenter has to adjust during installation. That adjustment is never perfect.
Over time, this leads to:
- small gaps between the wardrobe and the wall
- slight door misalignment
- visible finishing differences in edges
These are not visible on Day 1. They start becoming noticeable after usage.The second issue was floor level variation in the living room. Not something visible while walking. But when tile extension or furniture alignment is planned, even minor level differences create problems.
If the flooring is extended without correction:
- tile joints will not match properly
- edges will feel uneven
- in some cases, hollow sounds develop due to an uneven base
These are not installation mistakes. They are base preparation issues.
The third issue was moisture near one window corner. There was no active leakage. But the plaster had trapped moisture. This is a dangerous situation in interiors.
Because once you apply putty, paint, or laminate over moisture:
- the paint starts bubbling
- laminate adhesive weakens
- patches appear after a few months
And by the time it becomes visible, the finishing layer has to be removed. Now here is the critical part. None of these issues was a “major problem.” But all of them were “high-impact problems.” Because interior work depends completely on the base conditio.
What Would Have Happened If This Were Ignored
If we had started interior work directly, without addressing these issues, the project would have looked perfect at handover. But within a few months, the following problems would start appearing:
- wardrobe edges separating slightly from the wall
- tile alignment inconsistencies becoming visible
- paint deterioration near moisture areas
And at that stage, fixing these problems would require removing finished furniture, breaking tiles, and redoing paint work — which means double cost and double effort.
Decision Taken at This Stage
Instead of rushing into interior work, we paused execution and corrected the base. We recommended:
- wall leveling only where required (not the entire flat)
- minor floor correction before tile extension
- moisture treatment before finishing
We did not overdo correction. Because over-correction also increases cost unnecessarily. We focused only on areas that would directly impact interior execution. This added some cost at the beginning. But it prevented a much higher cost later.
This is usually the first point where homeowners realize:
- Interior cost is not just about design
- It is about preparing the space correctly
Stage 2: Design Planning vs Real Space Constraints
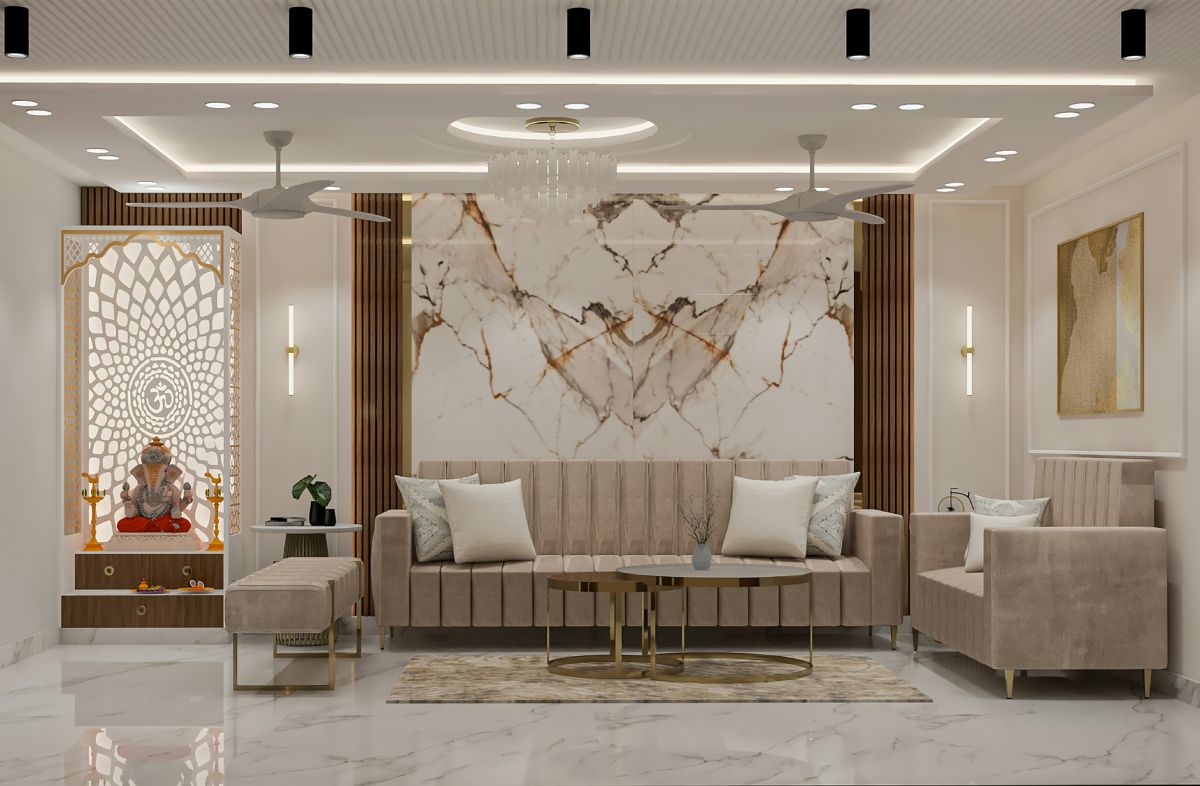
Once the base correction plan was finalized, the design discussion started. The client came with references, which is very common today. They had selected designs from online platforms and expected similar output. But a major gap exists between design expectation and site reality. Because online designs are created for ideal spaces. Actual apartments are never ideal.
What Happened When We Mapped Design to Site
When we started mapping the selected designs onto actual measurements, conflicts started appearing. Not because the design was wrong. But because the space conditions were different.
Real Constraint 1: Space vs Storage (The Most Common Conflict)
In the master bedroom, the client wanted a full-height wardrobe with sliding shutters. On the design level, it looked perfect. Maximum storage. Clean look. No door swing space. But when we mapped it on site, a problem appeared.
Due to wall alignment and available width, the wardrobe depth, combined with the sliding mechanism, reduced the walking space significantly. Now this is where practical decision-making starts. Because a design that looks perfect on screen can create daily discomfort in real life.
The client had to choose between:
- maximizing storage
- maintaining comfortable movement space
We explained how even a few inches difference in walking clearance affects usability over time. Finally, the design was adjusted. The wardrobe depth was optimized, and the internal layout was improved instead of blindly increasing size.
Real Constraint 2: Ceiling Height Limitation
The false ceiling design initially selected had multiple layers and depth variations. But when we evaluated actual ceiling height, it became clear that executing the same design would reduce vertical space significantly. This would make the room feel compressed. Now this is something homeowners don’t realize until execution.
Because drawings do not show how a space “feels.” We modified the design. Simplified the ceiling layout. Maintained lighting functionality but reduced unnecessary layering. This improved the overall space experience.
Contractor Insight (Critical for Ranking Content)
Most design failures in 2BHK flat interior designing in Thane happen because: Design is copied, not adapted.
A professional approach always modifies the design based on:
- actual dimensions
- usage behavior
- long-term comfort
Not just visual appeal.
Stage 3: Execution Begins (Where Budget Starts Shifting)
Once the design was finalized, execution started. This is the stage where most homeowners expect everything to go as planned. But this is also where real-world variables start affecting the budget.
Civil Work Impact on Budget
The initial estimate assumed minimal correction. But once work started, actual correction requirements became clearer. Wall leveling required additional material and labor. Moisture treatment required proper preparation and drying time. These were not optional tasks. They were necessary for durability. This is where the budget starts shifting — not because of luxury upgrades, but because of necessary corrections.
Electrical Adjustments: The Hidden Cost Layer
Another common issue emerged during execution. Electrical points provided by the builder did not match the furniture layout. This is extremely common in almost every project. For example:
- Switchboards were not aligned with the TV unit placement
- Plug points did not match the kitchen appliance layout
These are small changes individually. But when multiple adjustments are made across wiring changes, conduit extensions, and reinstallation work, the cost increases gradually.
What Homeowners Usually Miss
Most homeowners assume the builder has already done electrical work, so no changes are needed. But the interior layout almost always changes usage. And electrical must follow usage, not the original plan.
Stage 4: Material Selection (Where Budget Expands Naturally)
At the design stage, materials are discussed broadly. But real decisions happen during execution. And this is where most cost increases happen — not because of mistakes, but because of choices.
Real Scenario From This Project
Initially, wardrobes were planned with a standard laminate finish. But when actual samples were shown, the client preferred a slightly premium texture. The difference per square foot was small. But when applied across the full wardrobe area, the cost increased. The same pattern repeated in multiple areas:
- kitchen hardware upgraded for smoother usage
- lighting fixtures selected based on aesthetics
- handles and fittings chosen based on finish quality
Each decision was logical. Each upgrade improved the outcome. But collectively, they increased the final cost.
Contractor Insight
In any 2BHK flat interior cost, the biggest variation does not come from base work. It comes from decisions taken during material selection. And these decisions happen gradually, not at once.
Stage 5: Timeline Impact (Another Hidden Cost Factor)
The initial expected timeline was around 6–7 weeks. But real projects do not run in perfect sequence.
What Actually Caused Timeline Shift
- Civil correction took slightly longer due to drying time
- design adjustments required re-measurement
- Material selection delayed certain stages
Now the delay was not extreme.
But even small timeline shifts affect:
- labor scheduling
- workflow coordination
- execution efficiency
And this indirectly impacts cost.
Important Insight
Time is not just time in interior projects. Time affects coordination. And coordination affects quality and cost.
Budget vs Final Cost: Reality of This 2BHK Project
Initial Expected Budget: ₹5.5 – ₹6 lakh
Final Executed Cost: ₹6.8 – ₹7.2 lakh
Where the Difference Actually Came From
The increase was not due to one major change. It came from multiple real execution decisions:
- correcting base condition before interiors
- aligning electrical with actual usage
- upgrading materials based on real selection
- modifying the design for practical usability
Final Insight (Very Important)
This was not a budget failure. This was a reality adjustment. Because the initial budget was based on assumptions. And the final cost was based on actual execution.
Stage 6: Room-Wise Cost Breakdown (Where Your Budget Actually Goes)
Once execution was completed, we broke down the total 2BHK flat interior cost to understand exactly where the money was spent. Most homeowners assume that interiors are expensive because of furniture. But in reality, cost is distributed across multiple layers And if you don’t understand this distribution, budget planning always goes wrong.
Kitchen: The Most Functionally Expensive Area
In this project, the modular kitchen contributed a significant portion of the cost — not because of size, but because of functionality. The kitchen included base cabinets, wall units, shutters, internal accessories, and hardware.
Now here’s what most homeowners don’t realize the visible part of the kitchen (the shutters) is only a small part of the cost. The major cost comes from:
- internal hardware (hinges, channels, fittings)
- structural carcass (plywood, boards)
- installation precision
In this project, the kitchen cost increased slightly because the client upgraded the hardware for smoother operation and better finishes were selected for long-term durability. These decisions did not dramatically change how the kitchen looked. But they significantly improved how it functioned.
Wardrobes: Where Space Planning Impacts Cost
Wardrobes in both bedrooms were another major cost component. Initially, the client wanted maximum storage with full-height wardrobes. But during execution, we optimized the layout instead of blindly increasing size. Wardrobe cost is not just about the area. It depends on:
- internal layout complexity
- number of shutters
- hardware selection
- finishing material
In this project, the cost increased slightly due to better laminate finish and improved internal divisions. But at the same time, unnecessary design elements were removed. So the cost increase was controlled.
Living Room: Where Design Decisions Affect Budget
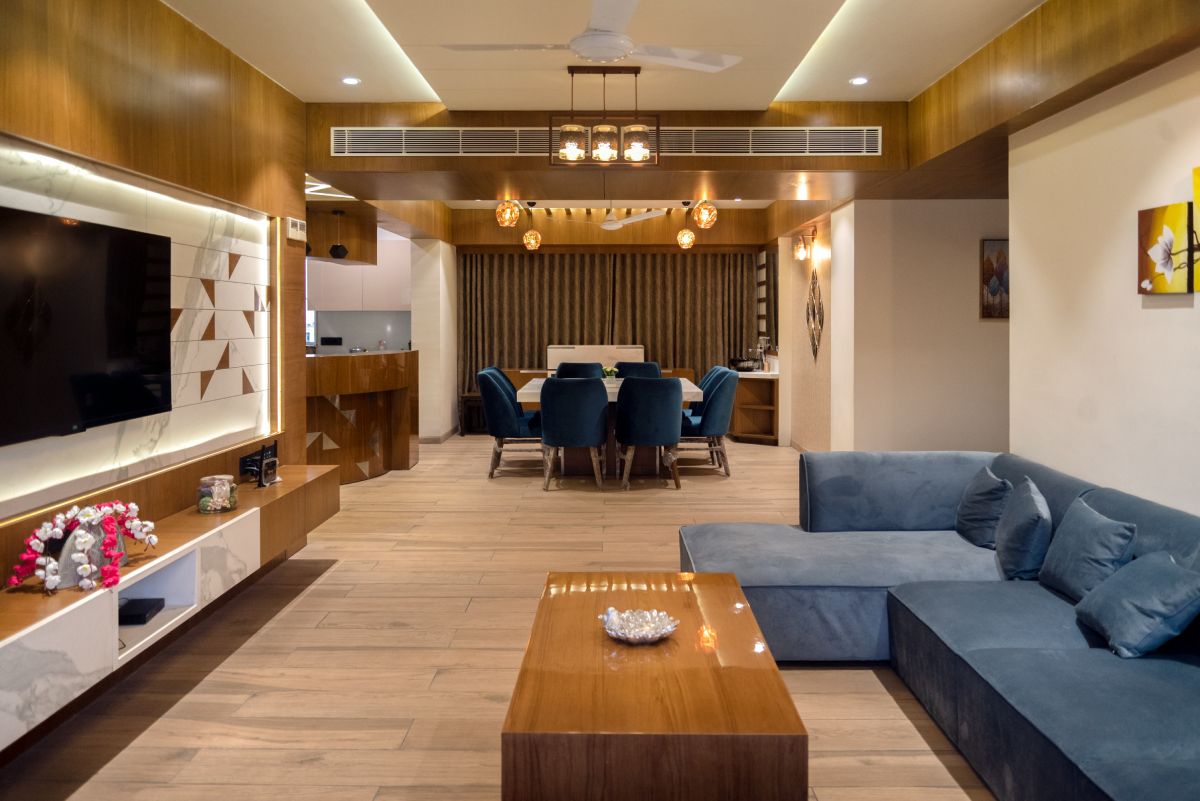
The cost of the living room is highly dependent on the design approach. In this project, the TV unit and wall paneling were initially designed with heavy decorative elements. But during execution, we simplified the design.
This reduced:
- material usage
- installation complexity
At the same time, we retained a clean and functional look. This is a key insight. Good design does not always mean more cost. Sometimes it means smarter execution.
False Ceiling and Lighting: Small Area, High Impact
False ceiling cost is often underestimated because it looks like a light element. But in reality, it involves framing structure, gypsum boards, finishing, and lighting integration. In this project, the initial design was more complex. But due to ceiling height limitations, we simplified it — slightly reducing the cost while improving the space feel. Lighting cost also increased slightly because better fixtures were selected and the layout was adjusted based on usage.
Painting and Finishing: The Final Layer That Reflects Everything
Painting cost is usually considered fixed. But it depends heavily on surface preparation. Since civil correction was done earlier, the finishing quality improved. This reduced long-term maintenance issues but also added some initial cost due to better preparation.
Real Cost Distribution Insight
If we simplify the total 2BHK flat interior designing cost, it looks something like this:
- Kitchen + Wardrobes → largest share
- Civil corrections + preparation → hidden but critical cost
- Lighting + ceiling → medium cost, high impact
- Finishing (paint, polish) → depends on base quality
Stage 7: Where Homeowners Overspend Without Realizing
One of the biggest learnings from this project is how the budget increases silently — not because of one big mistake, but because of multiple small decisions.
Overspending Area 1: Material Upgrades
When homeowners see actual samples, their preference naturally shifts toward better finishes. This is understandable. But every small upgrade adds cost. Over time, these add up.
Overspending Area 2: Design Without Practical Filtering
If the design is not adjusted to the real space, unnecessary elements are added, space becomes inefficient, and cost increases without adding value.
Overspending Area 3: Ignoring Base Condition Initially
If civil issues are ignored at the beginning, they come back later as repair work. And repair work after finishing is always more expensive.
Stage 8: Where Smart Decisions Helped Control Cost
Not all cost changes were increases. Some decisions actually helped control the budget.
Decision 1: Selective Civil Correction
Instead of correcting the entire flat, we focused only on critical areas. This saved cost while ensuring quality.
Decision 2: Simplifying False Ceiling
Reducing unnecessary design layers helped reduce cost and improve space usability.
Decision 3: Optimizing Storage Instead of Expanding It
Instead of increasing wardrobe size, we improved the internal layout. This improved usability without increasing cost significantly.
Contractor Insight (Very Important for Readers)
Cost control in interiors is not about reducing quality. It is about making the right decisions at the right stage.
Stage 9: Final Outcome (What Actually Matters)
At the end of this project, the most important result was not how the flat looked on the day of handover. Because almost every interior project looks good on Day 1. Fresh paint, new furniture, clean finishes, everything appears perfect.
But the real question is not how a space looks immediately after completion. The real question is how that space behaves after people start living in it. This is where most interior projects start failing.
In this 2BHK flat, the outcome was evaluated not just visually, but functionally. After completion, we observed how different elements were performing together. The wardrobe alignment remained consistent without any visible gaps or edge separation. This was possible because wall correction was done before installation, not adjusted during fitting.
The tile work in the living room maintained even joint lines without any height variation. This was because floor leveling was addressed before extending or modifying the flooring.
The paint finish remained stable near the window area where moisture was previously present. Because the issue was treated at the base level, not hidden under finishing layers. These results may sound simple. But they are not accidental. They are the outcome of decisions taken at the right time.
Most interior failures do not happen because of poor design. They happen because base preparation is ignored. And when base preparation is ignored, problems appear slowly. First, as minor defects. Then, as visible damage. And finally, as a rework.
In this project, the absence of problems was the biggest success.
- no alignment shifts after furniture installation
- no visible finishing defects after usage
- no early-stage maintenance issues
And this is what defines a successful 2BHK flat interior designing in Thane project — not just the visual output, but the long-term stability of that output.
What Homeowners Should Learn From This Case Study
Most homeowners approach interior design with a fixed mindset. They believe the process is linear.
Budget → Design → Execution → Completion
But real projects do not follow this straight path. They evolve based on site conditions, decisions, and adjustments during execution. The first major learning from this project is that the initial budget is not a final number. It is only a starting reference.
Because at the beginning, the budget is based on assumptions:
- Assumed wall condition
- Assumed electrical layout
- Assumed design feasibility
But during execution, these assumptions are tested against reality. And reality always introduces changes. The second important learning is about base correction. Many homeowners try to save costs by skipping civil work or surface preparation.
They believe it is not necessary because the flat looks “fine.” But this case study clearly shows that: Ignoring base issues does not remove them. It only delays their impact. And when that impact appears, it affects finished interiors, making corrections much more expensive.
The third learning is about design flexibility. Design should not be treated as a fixed concept. It must adapt to space. In this project, several design elements were modified based on actual conditions. These changes did not reduce quality. They improved usability.
The fourth and most important learning is about decision timing. Every interior project involves decisions. But the timing of those decisions matters. Correct decisions at early stages reduce cost and problems later. Delayed decisions increase complexity and expense.
Hiring Insight: Choosing the Right Interior Partner
This is where most homeowners make the biggest mistake. They choose the best interior designer in Thane or a contractor based on visible factors.
- Design samples
- Quotation price
- Reference projects
But these factors do not reflect execution capability. A project does not fail because the design was bad. It fails because the execution was not planned properly.
In real renovation scenarios, the contractor must handle multiple layers simultaneously. They must understand civil work, interior execution, electrical coordination, and finishing quality. They must also know when to stop a process and correct the base before moving forward. In this project, the outcome was successful because decisions were not rushed.
The process followed a structured approach:
- site inspection was done before finalizing the design
- base condition was evaluated before execution
- budget was adjusted based on real requirements
- coordination was maintained across all stages
This is what differentiates a professional team from a basic service provider. A professional company like Eagle Ventures does not just execute instructions..
- They guide the process.
- They identify risks early.
- They recommend corrections before problems appear.
- And they align design with real-world execution.
When searching for the best interior designer in Thane, homeowners should focus on:
- how the company approaches site inspection
- how they handle unexpected issues
- how they plan execution stages
- how they explain cost variations
These factors determine the final outcome. Not just the design.
Internal Service Links
Conclusion: The Truth About 2BHK Interior Cost in Thane
The biggest misunderstanding in the 2BHK flat interior cost is the belief that it is a fixed number. Homeowners expect a single estimate that will remain constant throughout the project. But in reality, interior cost behaves differently. It changes based on how the project unfolds.
At the beginning, cost is based on planning. But during execution, cost reflects reality.
Reality includes:
- actual site condition
- necessary corrections
- design adjustments
- material decisions
This case study shows that cost increase is not always negative. In many cases, it is a correction of initial assumptions. When homeowners start with limited information, their budget is incomplete. As the project progresses and clarity improves, the budget becomes more accurate.
The real question is not whether the cost increased. The real question is whether the increase adds value.
In this project, every increase was linked to:
- better durability
- better usability
- better long-term performance
A well-executed 2BHK flat interior designing in Thane project is not defined by the lowest cost.
It is defined by:
- How well the space performs after completion
- How long does the finishing last
- How few problems appear over time
If money is spent in the right areas, the project becomes stable. If money is spent without understanding, the project becomes high-maintenance.
FAQs
What is the average 2BHK flat interior cost in Thane?
In most real projects, the cost ranges between ₹5 lakh and ₹8 lakh. However, this depends heavily on base condition, design choices, and execution quality.
Why does the interior cost increase during execution?
Because actual site conditions differ from initial assumptions. Adjustments in civil work, materials, and design decisions gradually change the total cost.
Can I fix my budget before starting the renovation?
You can define a range, but a fixed number is rarely accurate. A realistic budget evolves after proper site inspection and execution planning.
Is a turnkey interior better for cost control?
Yes, because it reduces coordination gaps between multiple vendors. A single execution team ensures better planning and fewer unexpected costs.
How do I choose the best interior designer in Thane?
Do not choose only based on design or price. Evaluate how the team handles execution, site conditions, and decision-making during the project.
You May be Interested in
-
 June 20,2025
Top 10 Office Cabin Interior Design Ideas & Trends
Leadership cabins are more than secluded workstations—they speak to authority, vision, and control.....
Read More... -
 June 13,2025
Small Office Interior Design Guide for Compact Workspaces
Setting up a compact office doesn’t have to be stressful. With smart small office interior design.....
Read More... -
 June 09,2025
The Complete Guide to Small Office and Cafe Interior Design
Explore expert tips on cafe interior design and small office interiors to create spaces that convert and inspire.....
Read More...
FREE CONSULTATION
Talk To Our Expert

About Us
Founded in 2016. Eagle Ventures has estabilished itself as one of the greatest and prestigious providers of construction focused interior renovation services and building.